I’ve been editing on non-linear systems since 1997.

Learn your trim tools. Please learn your trim tools. Make yourself a better video editor.
Every time I learn or re-learn an NLE, I make sure I understand the trim tools.
I don’t care which NLE you’re on. You better have an excellent grasp of trimming.
I think this is THE MOST essential set of tools on an NLE. Are you with me? I’m trying to make you better.
I use the trim tools every time I edit, EVERY TIME. The trim tools make an editor’s life easier. Trimming is polishing your edits.

I think trimming is one of the hardest concepts to grasp when you’re learning about non-linear editing.
What is trimming? I took this definition from Final Cut Pro HD Hands-On Training by Larry Jordan.
“Trimming is the process of removing, or adding, frames to the beginning and end of your shots so that the edits flow naturally, maintaining your story, without calling attention to your editing.”
So why should you trim? What’s a great benefit? These are the tools that make your edits better, and it’s quick. Eventually, it’ll make you better.
I’m going to speak about trimming in general and why and how.
I used to edit on a non-linear system very linear-ly. Meaning I would mark an in and an out and place it into the timeline. If I didn’t like the edit, I would undo and reset mine in and out. THAT’S A WASTE OF TIME. The material you want is already down in the timeline.
Once you place clips onto the timeline, you should never go back to the preview window or re-load the clip ever.
If you don’t like the IN, then trim it.
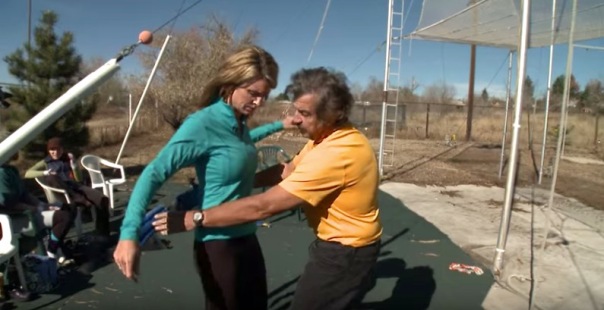
I’ll use the story, Swinging on the Trapeze on my YouTube site to show you how I utilized some trim tools in the edit.
At [:21] into the story, you hear the beginning of a sentence from the gentlemen helping Kellie with the harness. He says, “It’s gonna be…, then I show him.
 I place the edit of Kellie and the gentlemen down on the timeline. I then ripple the video of the woman on the Trapeze just over this new edit. I made a J cut (Whoohoo!).

Simply select the edit you want to extend. In this case, the end of the clip that has the woman on the Trapeze (ONLY THE VIDEO).
In Premiere Pro I love I can just hold down the option key, and I can select only one track (basically unlinking a video and audio track)
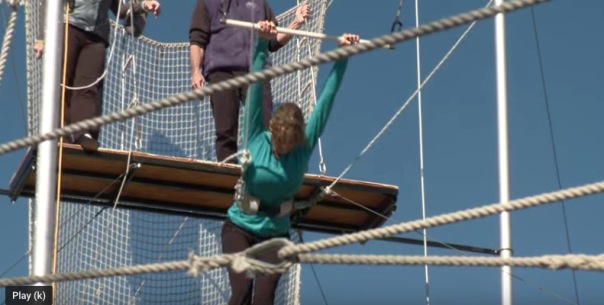
At [:35], I make another J cut. You see other women on the Trapeze.

And you hear Kellie say, “So this’ll keep..” and then I cut to Kellie after that.

Between these two shots, I select the edit. I choose the rolling tool and drag that edit forward to where I want it to be.
At [2:06] is a match-action sequence of Kellie swinging on the Trapeze.

The 2nd shot in the sequence is Kellie swinging from the platform and then all the way back to the platform.

I’m confident the action is matched here. But maybe I want to tweak it a few frames. I like my duration of the clip (two seconds) I’ve laid down. I want to slip it a few frames.
Meaning I’m going to change the in and the out with one tool. I’m going to zoom in to the clip on the timeline, select the slip tool, and drag the clip forward and backward until I like my new in and out point while maintaining my duration.

The Slip tool works great for a situation like this. Trying to help with your match-action in a sequence.
Slip, roll, extend edits are the easiest I think to try and explain. A ripple while isn’t any more complicated; it’ just a hard to explain in a blog.
What do I want you to learn from this entry? The next time your editing and you want to change something, use a trim tool. Sometimes just playing around with the trim tools are your best way of learning. I still discover new uses for each trim tool everyday.
Play and learn.
